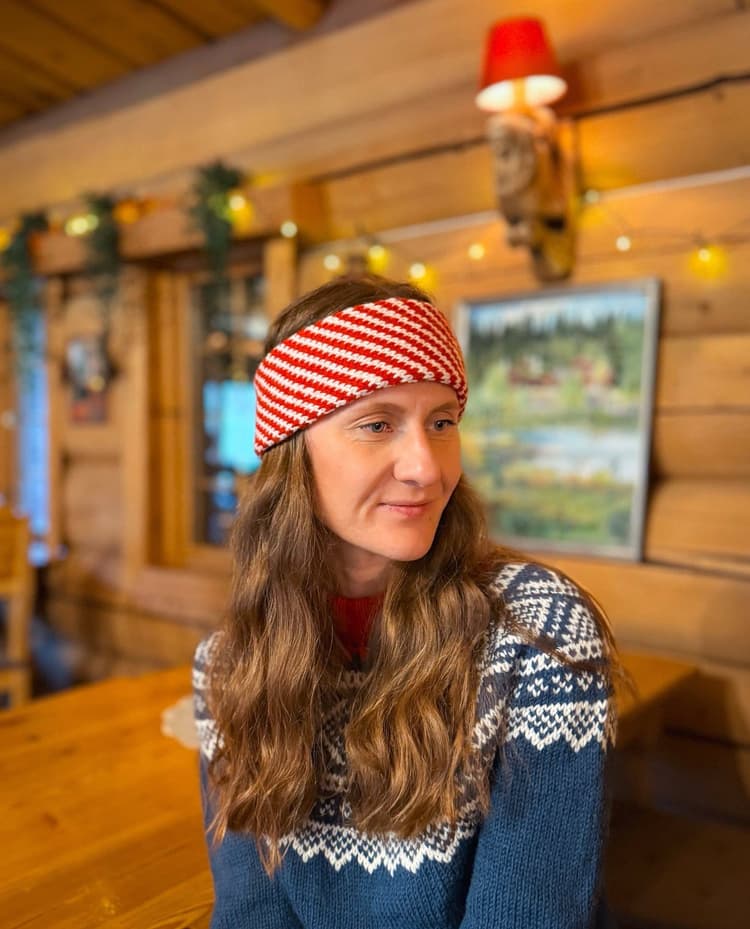
Hi there! This is a quick one. I got an email from one of you with a question: how do I measure the yoke when I knit a sweater? The question was about my Knitting Club sweater, but I use the same method to check the yoke on basically any top-down sweater, at least with raglan and circular yoke sweaters. So I decided to pop up and show you how I do it.
If you want to support my channel, please subscribe, leave a comment under the video, and hit the thumbs-up button.
Chapters
- Intro and the question from a viewer (0:00)
- Where to measure yoke depth (1:27)
- Secure your stitches before trying it on (3:07)
- Trying the yoke on: is it deep enough? (5:00)
- Follow your pattern, but check your row gauge (7:15)
- What to do if you need more depth (8:40)
- Lifeline, split and try it on again (9:10)
- Why the yoke looks funny before the sleeves (and blocking) (10:40)
Patterns and other things that I've mentioned in this video:
- Knitting Club Sweater by Bare Knit - a beginner-friendly top-down raglan sweater. I have a full step-by-step video tutorial for it, from cast on to bind off.
What yoke depth is and where to measure it
When you knit a top-down raglan or circular yoke sweater, at some point the yoke is deep enough and you split for the sleeves and the body. After that you knit the body in the round and leave the sleeve stitches for later.
Patterns usually tell you to knit until the yoke measures a certain depth - let's say 20 cm (8 in). It might be more, it might be less, depending on the pattern. Usually the pattern also tells you where to start measuring.
If it doesn't say, I measure from the middle of the collar straight down. I'm using centimeters because I live in Europe, but it doesn't matter which you use. If your number matches the pattern, great!
But if you are modifying the sweater for your body, or you just want a deeper yoke for whatever reason, a number alone won't tell you much. Then it is really useful to put the yoke on yourself and see.
Step 1: Secure your stitches
Before you try anything on, make sure you don't lose your stitches and they don't unravel themselves.
If the cord of your needles is long enough, you can just put needle stoppers on the tips. But most likely the cord will not be long enough to pull the yoke over your head and move it around. So put the stitches on something else:
- a stitch holder,
- another set of needles,
- a barber cord,
- scrap yarn or a lifeline.
In the video I'm using a barber cord. I attach it to the tip of my needle and slide the stitches onto it. Without the needles it is much more convenient: needles are stiff and they have some length, a cord isn't and doesn't.
Step 2: Try the yoke on and do the "pinch test"
The sweater in the video is a raglan, and the raglan lines make it very easy to see where the sleeves will go and where the body will stay. With a circular yoke it is a bit trickier because you don't have those lines. But once you put the yoke on, you will still kind of see where the stitches go.
Here is what I do. With the yoke on, I find the raglan line in front of my shoulder and grab it with my thumb. Then I find the raglan line behind my shoulder and grab it with my index finger. And I try to pull them together under my arm.
You don't have to make them meet all the way. Basically any pattern tells you to cast on a few extra stitches under the arm when you split for the body and the sleeves, so those stitches will fill the gap. But it should be close.
In the video, my yoke is clearly not deep enough. It is tight and a bit too snug. So I need to knit at least 2-3 cm more, maybe even up to 5 cm (about 1-2 in). And stitch count wise it also feels a bit too snug for me.
Follow your pattern, but check your row gauge
Everything depends on the pattern that you are making. Some patterns have a lot of positive ease, some have negative ease. So of course read what the designer tells you to do and how many stitches you should have before you split for the body and the sleeves. My method is just to show you how it looks on you when you try it on and you are unsure.
Even if you have exactly the stitch count the pattern tells you, it is useful to try the yoke on anyway. Your row gauge might not match the gauge in the pattern, and then your yoke can come out a bit shorter than the designer's sample. (If you haven't checked your gauge yet, here is how I knit a gauge swatch.)
What to do if your yoke is too shallow
If the yoke is wide enough for your body and your sleeves, and it is only the depth that is not enough, then just knit more rounds without increasing. You get more fabric in the yoke, but the sweater doesn't get wider than you want it to be.
Step 3: Lifeline, split, and try it on again
Once the yoke is deep enough, I have measured it, tried it on, and it looks okay to my taste, this is what I do to be extra safe:
- Put in a lifeline, just in case I need to rip back. Then I don't lose my stitches.
- Split for the body and the sleeves.
- Knit 5-6 rounds of the body, not more. Then there is some fabric in the underarm area, so it doesn't pull too much and doesn't create holes.
- Try it on again. If the yoke is still too shallow, or I don't feel comfortable moving my arms, I unravel back to the lifeline. Thanks to the lifeline I know exactly where to stop. I pick up the stitches again, add a couple of rows to make the yoke a little deeper, and split again.
Why the yoke looks a bit funny before the sleeves
Keep in mind: until you add the sleeves, the sweater will look a little bit funny. The collar might sit higher than it will in the end, and it might feel less comfortable than the finished sweater will. Once you add the sleeves, they usually pull the fabric down a bit, the collar opens up more, and the yoke settles in.
A bonus tip: you can even block the sweater before it is finished. The yarn and the fabric relax a little and give the yoke a bit more ease, so you can see how it will look once the sweater is done and properly blocked.
Do you try on your top-down sweaters before you split for the sleeves, or do you trust the numbers in the pattern? Let me know in the comments, and ask me there if I didn't answer your question about yoke depth!